How to Install Visual Studio in Ubuntu 14.04
Visual Studio Code is a well-known, powerful open-source code editor and cross-platform developed by Microsoft. It provides countless features to the developers and a trouble-free way to write and manage code.
Visual Studio Code is a streamlined Code Editor that comes up with various operations such as debugging, syntax highlighting, version control, code completion.
You can insert, expand, generate, and collapse different code blocks using the editor's various properties, such as outlining and code snippets.
Many folks confused Visual Studio with Visual Studio Code. Visual Studio is exclusively available on Windows for windows application development, while Visual Studio Code is a simple code editor available for many platforms.
Now we will check a couple of ways to get Visual Studio Code on Ubuntu 20.04. Pick the most appropriate one according to your convenience.
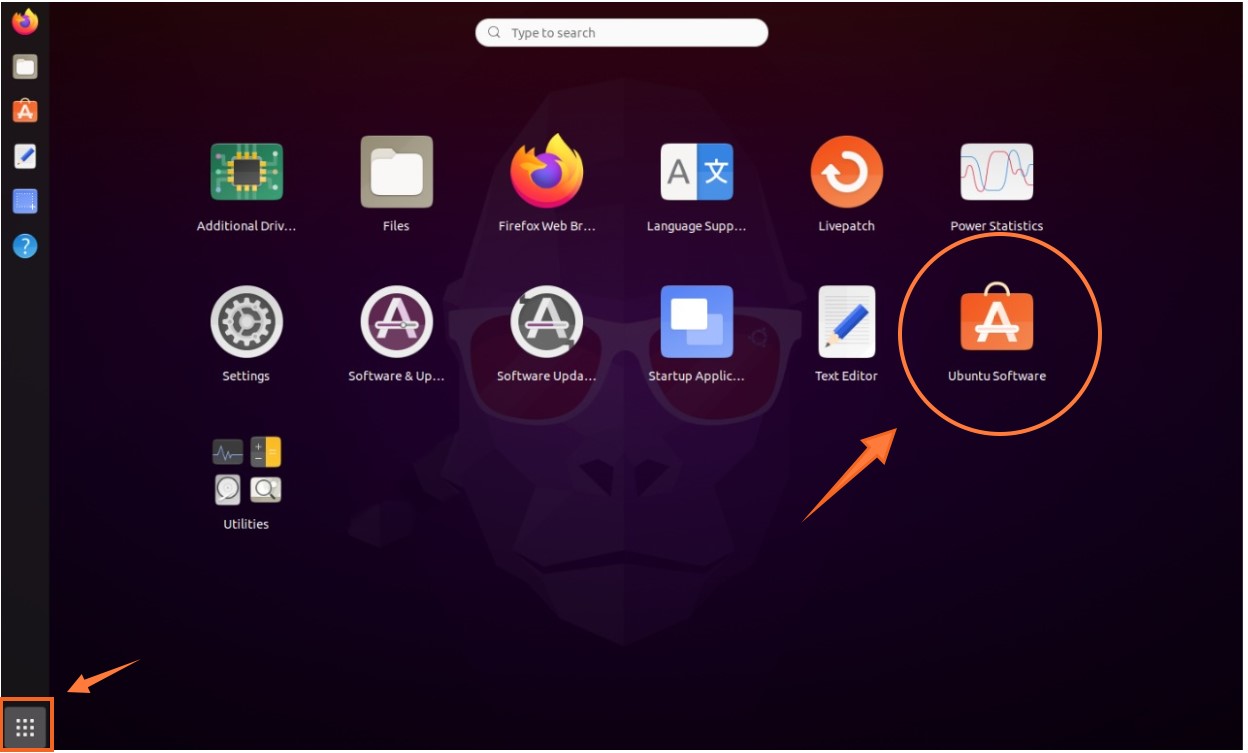
1- Install Visual Studio Code On Ubuntu 20.04 (LTS) and 20.10 Using GUI:
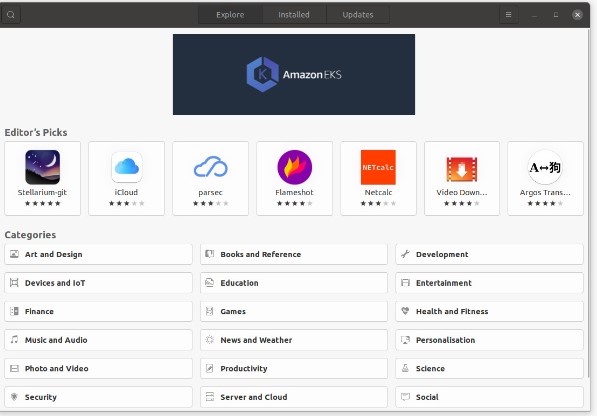
To install Visual Studio Code through GUI, Firstly, open Software Center on Ubuntu.
You will get a Software Center window.
Now, search "Visual Studio Code":
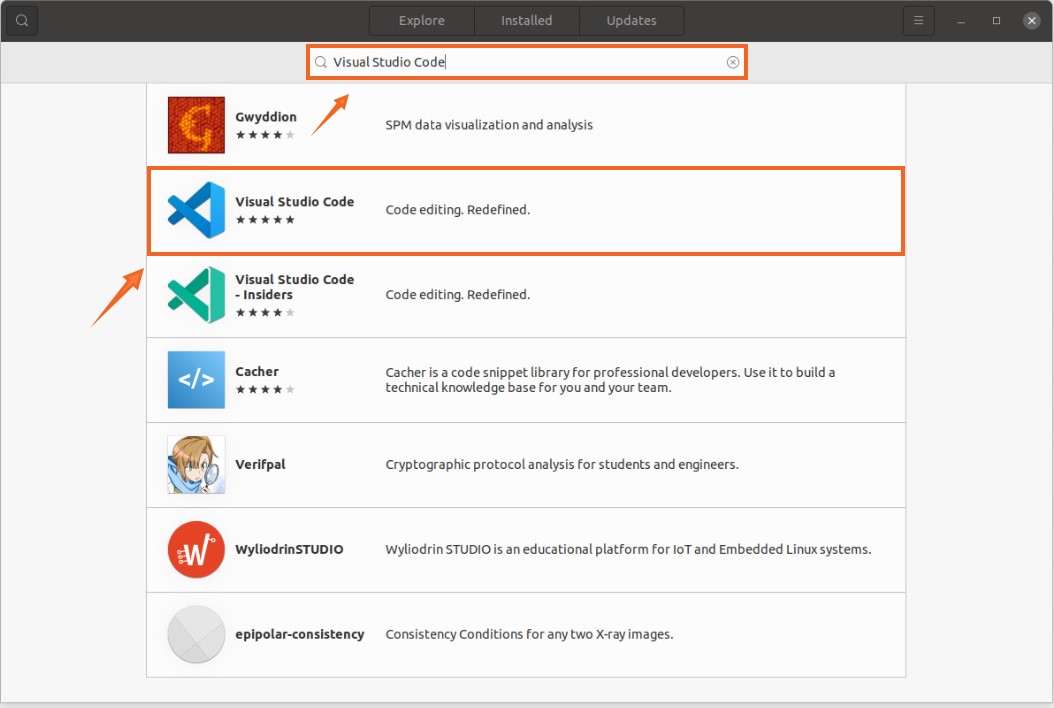
Select "Visual Studio Code", a window will appear with Install Button; click on it to start the process.

2- Install Visual Studio Code On Ubuntu 20.04 (LTS) and 20.10 Using Terminal:
In this method, we will download and install Visual Studio Code using snap. Snap packages include binary dependencies which are secure and easy to upgrade.
To start the process, open your terminal and type the command given below:
$ sudo snap install --classic code

Another way of installing VS code is using the terminal via the "apt" command.
There are few steps to follow:
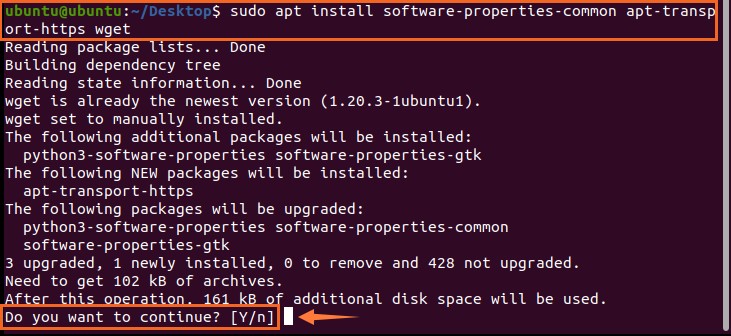
Step 1: First, we need to install dependencies using the below-mentioned command.
$ sudo apt install software-properties-common apt-transport-https wget
Step 2: Next step is to import the given Microsoft GPG key on the terminal through the wget command:
$ wget –q https://packages.microsoft.com/key/microsoft.asc -O- | sudo apt-key add -

Step 3: Moving forward, type the following command to enable VS code repository:
$ sudo add-apt-repository "deb[ arch=amd64] https://packages.microsoft.com/repos/vscode stable main"
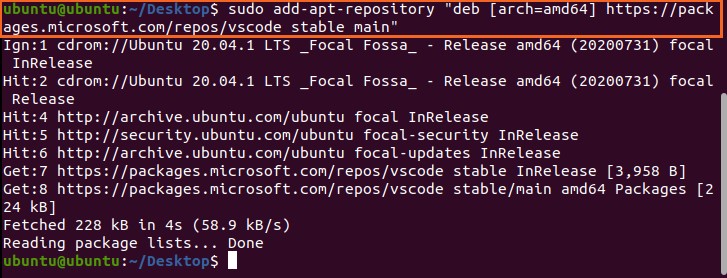
As you can see, the repository is added. Now, the last step for this process is to type installation command of Visual Studio Code package, which is mentioned below:

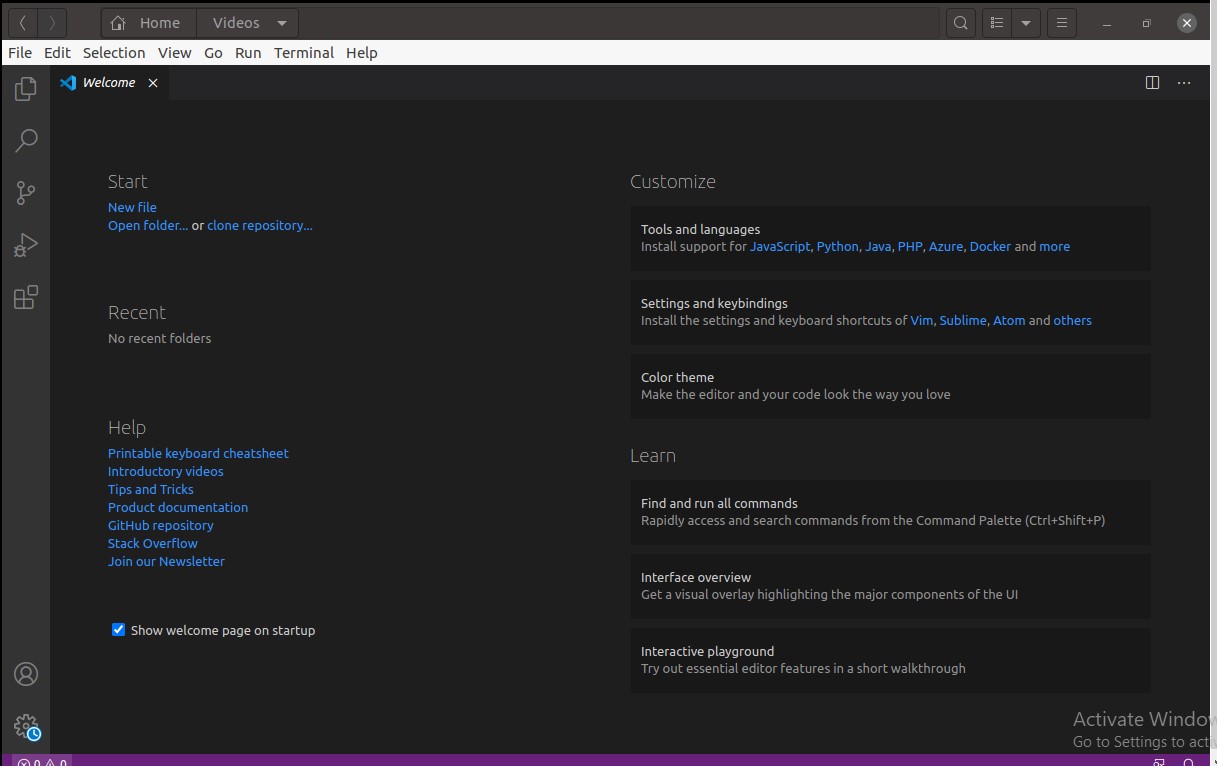
Visual Studio Code will be downloaded and installed on your device. It can be viewed in applications. Open it:
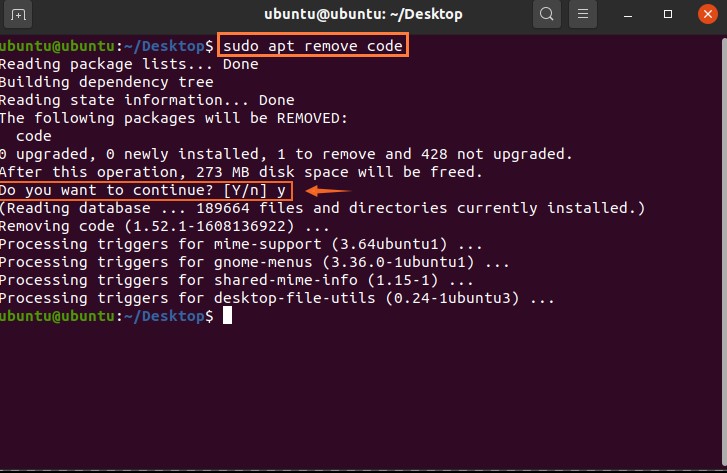
How to uninstall Visual Studio Code on Ubuntu 20.04 (LTS) and 20.10:
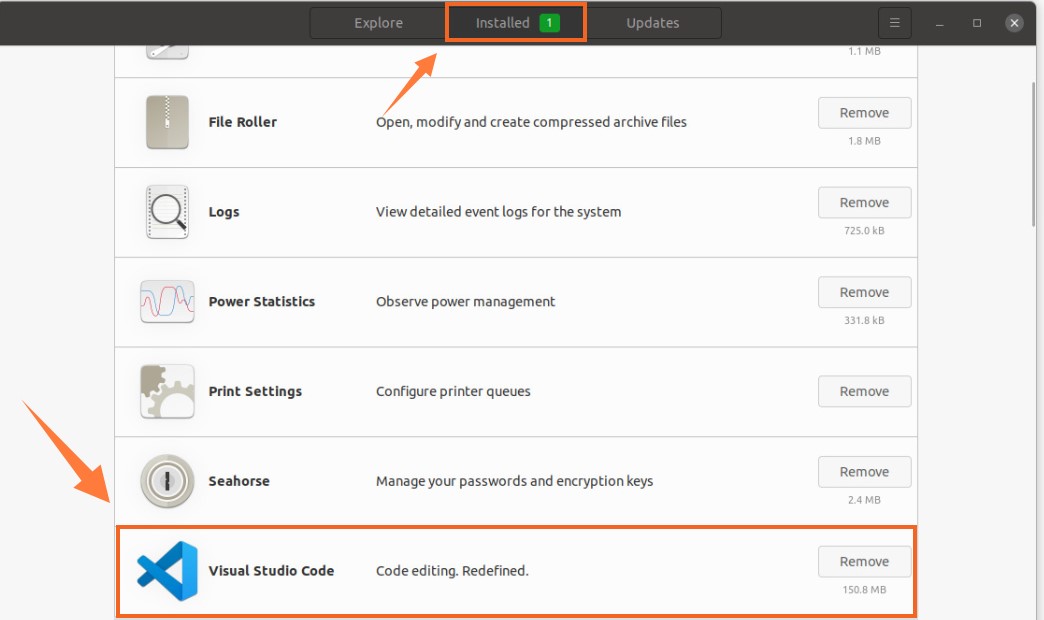
If you've installed it from GUI, then to remove it, follow the steps listed below:
- Open Software Center and click on the installed tab.
- Find visual studio code application.
- Click on the remove button.
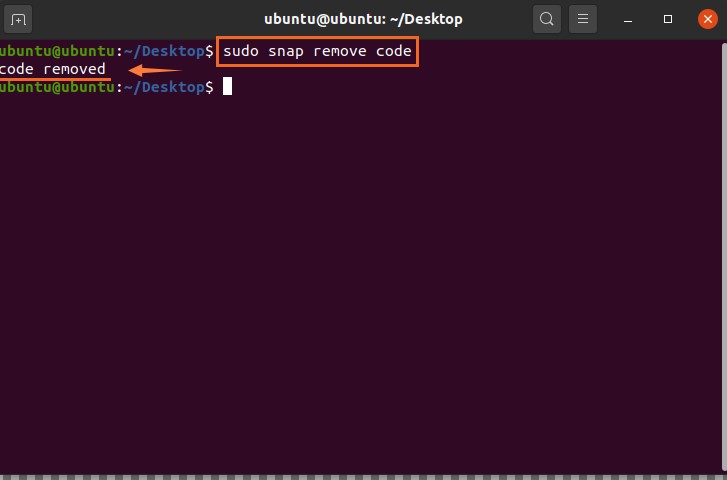
If you have installed Visual Studio Code through the terminal by snap packages.
Use command to uninstall it:
Conclusion
You've seen a brief introduction about how to install Visual Studio Code using a couple of ways that are via GUI and Terminal. We have also learned how to uninstall it in various ways. Visual Studio Code is a fast, reliable, and efficient code editor that supports various programming languages and tons of plugins to enhance productivity.
About the author

I am a Software Engineer Graduate and Self Motivated Linux writer. I also love to read latest Linux books. Moreover, in my free time, i love to read books on Personal development.
How to Install Visual Studio in Ubuntu 14.04
Source: https://linuxhint.com/install_use_vs_code_ubuntu/